ESP32をAmazon Alexaのスマートホームのデバイスに登録する方法
はじめに
ESP32とAmazon Alexa(以下、Alexa)の連携を考えた際にIFTTTとBlynkを利用する方法が最初に思いつきます。
しかしながら、IFTTTとAlexaの連携ではAmazon Echoに話しかける際に「◯◯、トリガー」と語尾にトリガーとつけて発話しなければなりません。
完成品
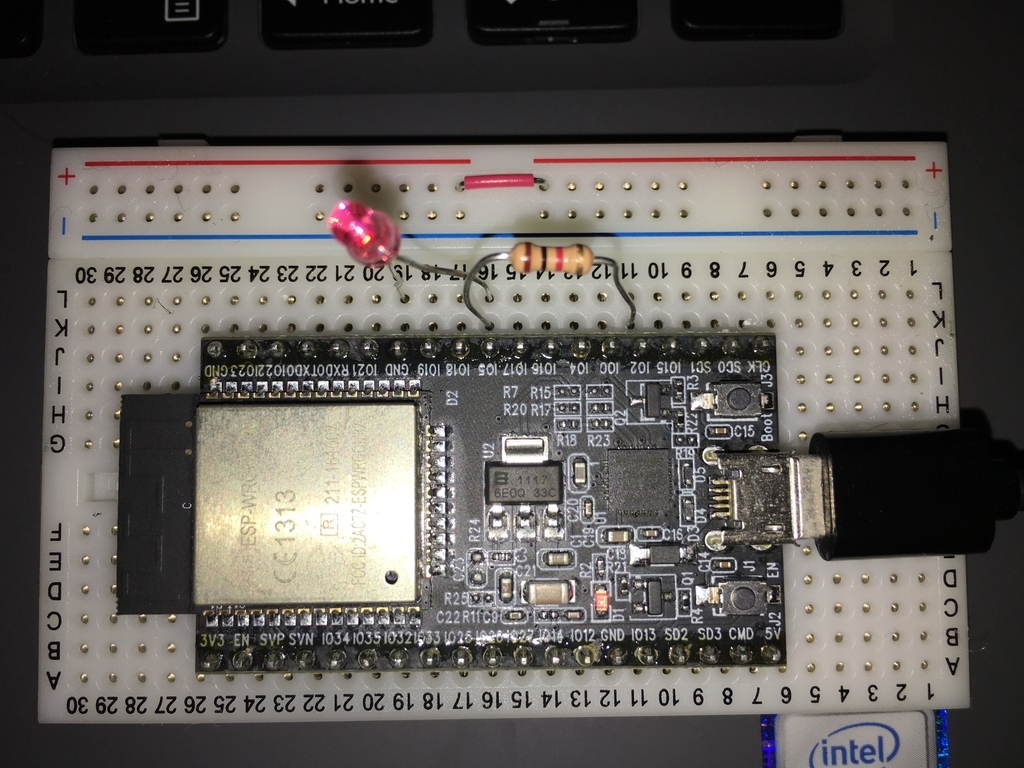
AlexaのアプリからLEDを制御しています。Amazon Echoに話しかけても同様のことが出来ます。
Alexaのスマートホームのデバイスとして登録したESP32の音声操作版です。 pic.twitter.com/g3JYOs1E5J
— クラクス (@kuracux) 2018年9月21日
準備物

Echo 第2世代 - スマートスピーカー with Alexa、サンドストーン
- 出版社/メーカー: Amazon
- 発売日: 2018/04/03
- メディア: エレクトロニクス
- この商品を含むブログ (3件) を見る
- Amazon Alexaアプリ
- ESP32-DevKitC
- LEDと抵抗とブレッドボード(確認用)
前提
本記事ではESP32の開発環境の設定とAmazon Echo及びAlexaアプリの設定がお済みの方を対象としております。
1.FauxmoESPの取得
ESP32をスマートホームのデバイスとするライブラリであるFauxmoESPとライブラリ内で利用しているAsyncTCPを下記からダウンロードします。
FauxmoESPについてはバージョン2.4.4を利用しております。「ダウンロード」→「タグ」から2.4.4のzipファイルをダウンロードしてください。
ダウンロードしたものをArduino IDEの「スケッチ」→「ライブラリをインクルード」→「.ZIP形式のライブラリをインストール」を選択してインストールします。
※Arduino IDEの「スケッチ」→「ライブラリをインクルード」→「ライブラリを管理」から「fauxmoESP」と検索すると同名のライブラリがありますが、ESP32は非対応のものです。
※※FauxmoESPのバージョン3.0.0については私の環境では正常に動作しませんでした。下記でも同様の指摘がされています。(2018/09/22)
xoseperez / fauxmoESP / issues / #58 - v3.0 not discovered by Alexa — Bitbucket
2.スケッチ例
Arduino IDEから下記のスケッチを書き込みます。こちらのスケッチはオンの時にLEDが点灯し、オフの時に消灯します。サンプル例をもとに作成してます。
#include <Arduino.h>
#include <WiFi.h>
#include "fauxmoESP.h"
#define SERIAL_BAUDRATE                 115200
#define LED                             2

fauxmoESP fauxmo;

char ssid[] = "";
char password[] = "";

// -----------------------------------------------------------------------------
// Wifi
// -----------------------------------------------------------------------------

void wifiSetup() {

    // Set WIFI module to STA mode
    WiFi.mode(WIFI_STA);

    // Connect
    Serial.printf("[WIFI] Connecting to %s ",ssid);
    WiFi.begin(ssid, password);

    // Wait
    while (WiFi.status() != WL_CONNECTED) {
        Serial.print(".");
        delay(100);
    }
    Serial.println();

    // Connected!
    Serial.printf("[WIFI] STATION Mode, SSID: %s, IP address: %s\n", WiFi.SSID().c_str(), WiFi.localIP().toString().c_str());

}

void setup() {

    // Init serial port and clean garbage
    Serial.begin(SERIAL_BAUDRATE);
    Serial.println();
    Serial.println();

    // Wifi
    wifiSetup();

    // LED
    pinMode(LED, OUTPUT);
    digitalWrite(LED, HIGH);

    // You have to call enable(true) once you have a WiFi connection
    // You can enable or disable the library at any moment
    // Disabling it will prevent the devices from being discovered and switched
    fauxmo.enable(true);

    // Add virtual devices
    fauxmo.addDevice("照明");

    // fauxmoESP 2.0.0 has changed the callback signature to add the device_id,
    // this way it's easier to match devices to action without having to compare strings.
    fauxmo.onSetState([](unsigned char device_id, const char * device_name, bool state) {
        Serial.printf("[MAIN] Device #%d (%s) state: %s\n", device_id, device_name, state ? "ON" : "OFF");
        digitalWrite(LED, state);
    });

    // Callback to retrieve current state (for GetBinaryState queries)
    fauxmo.onGetState([](unsigned char device_id, const char * device_name) {
        return digitalRead(LED);
    });

}

void loop() {

    // Since fauxmoESP 2.0 the library uses the "compatibility" mode by
    // default, this means that it uses WiFiUdp class instead of AsyncUDP.
    // The later requires the Arduino Core for ESP8266 staging version
    // whilst the former works fine with current stable 2.3.0 version.
    // But, since it's not "async" anymore we have to manually poll for UDP
    // packets
    fauxmo.handle();

    static unsigned long last = millis();
    if (millis() - last > 5000) {
        last = millis();
        Serial.printf("[MAIN] Free heap: %d bytes\n", ESP.getFreeHeap());
    }

}
私の環境ではコンパイル時に\Arduino\libraries\xoseperez-fauxmoesp-985880034f3a\src\fauxmoESP.cppに対してエラーメッセージが2つ出ました。
- error: embedded '\0' in format [-Werror=format-contains-nul]
- error: format '%X' expects argument of type 'unsigned int', but argument 5 has type 'long unsigned int' [-Werror=format=]
該当している行はこちらの2つでした。
345行目:snprintf_P(uuid, sizeof(uuid), PSTR("%02X%06X46584D\0"), device_id, chip_id); // DEV_ID + CHIPID + "FXM"
350行目:sprintf(serial, "221703K0%06X\0", chip_id); // "221703K0" + CHIPID
1はこちらを参考にして修正をし、
stackoverflow.com
2は%Xを%lXと修正しました。
修正後はこちらとなります。
345行目:snprintf_P(uuid, sizeof(uuid), PSTR("%02X%06lX46584D%c"), device_id, chip_id,'\0'); // DEV_ID + CHIPID + "FXM"
350行目:sprintf(serial, "221703K0%06lX%c", chip_id,'\0'); // "221703K0" + CHIPID
4.Alexaアプリと接続
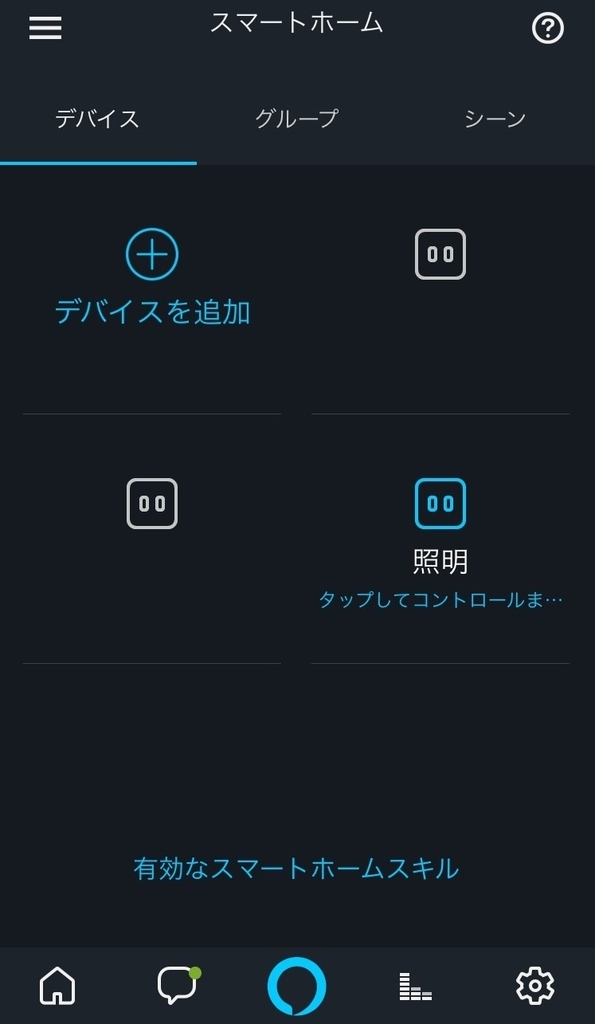
Alexaアプリの「スマートホーム」→「デバイスを追加」を選択します。


Amazon Echoによる検索後、スケッチ例のfauxmo.addDeviceにて指定した名前が一覧に表示されます。

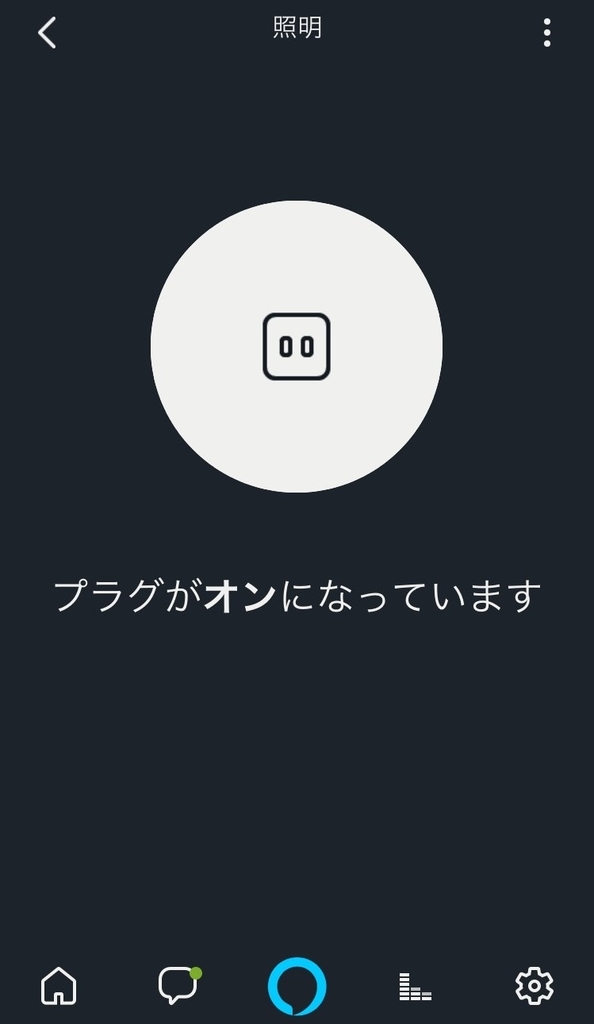
指定した名前を選択して、ボタンを押すとLEDが点灯・消灯します。また、Amazon Echoに「(指定した名前)を消して」や「(指定した名前)オン」と話しかけることで制御することも出来ます。

おわりに
ESP32をAlexaのスマートホームのデバイスに登録する方法をご紹介しました。
FauxmoESPのバージョン3.0.0では数値を扱えるようになるそうなので、実現できれば照明の調整等も出来そうですね。
This allows for a simpler code and also support for numeric values (you can now say "Alexa, set light to 50").
おまけ
ESP32を搭載しているM5Stackにおいても同様のことが出来ました。
M5StackもAmazon Alexaのスマートホームのデバイスとして登録できました。ボタンを押すことでベイマックス(白)⇔ベイマックス2.0と変わります。#M5Stack pic.twitter.com/L7jXeJDI8d
— クラクス (@kuracux) 2018年9月20日
